I made a big blunder last year before planting my favourite potatoes.
The ground was so wet I was forced to delay planting until well into spring.
My big mistake was to also delay buying certified “seed” tubers, so when I eventually attempted to do so, all the best varieties had been sold.
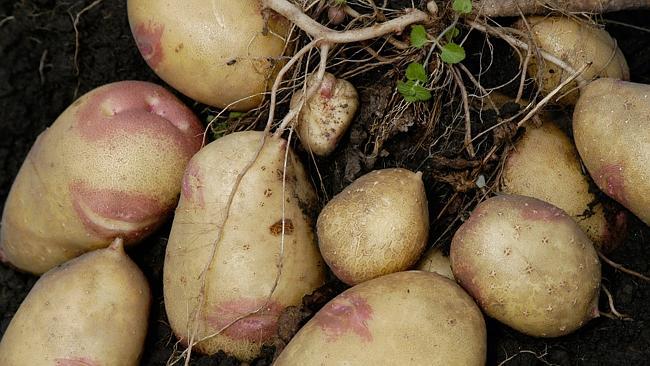
I finished up with half a kilo of shrunken, withered Pink-eye, a creamy-fleshed waxy variety, and about 10 tiny, picked-over Portland Dell for our floury needs.
Just enough for a couple of three- metre-long rows — but luckily, even the most miserable-looking potato tubers planted late can still produce a reasonable crop.
It’s a temptation to simply use ordinary shop-bought potatoes for planting, but there’s always a risk of introducing diseases into the vegetable patch.
Certified tubers are grown in isolated districts under the supervision of government inspectors so all abnormal or diseased plants that may appear are removed and destroyed.
Before planting main-crop potatoes in the past, I tended to wait for the last frost because of the sensitivity of potato foliage.
Then I noticed how midwinter “volunteers” that grew from the remains of previous summer crops always survived, despite frost damage.
This resilience allowed us to harvest early yields of perfectly good accidental spuds by late November.
So, irrespective of whether you live in a frost pocket or not, by all means take a chance and start planting. If frosts do worry you, keep a few empty cardboard boxes handy so they can be popped over tender foliage each evening when frosts threaten.
Be sure to take these covers off every morning.
Potatoes need fertile soil, so I spread a bucket of sheep or fully rotted cow or stable manure over each square metre of bed.
To this I add a heavy sprinkling of pelletised poultry manure directly over the top and even a generous dressing of blood and bone.
This lot is forked in deeply and thoroughly mixed into the soil.
I use a pointed garden stake to make 150mm-deep holes, spaced half a metre apart in rows a full metre apart.
A seed potato can be dropped or thrust into each hole and buried. Water if the soil is dry.
In cold soil it can take three weeks or more for the first potato tops to start popping up, but once they hit the light they grow with astonishing speed.
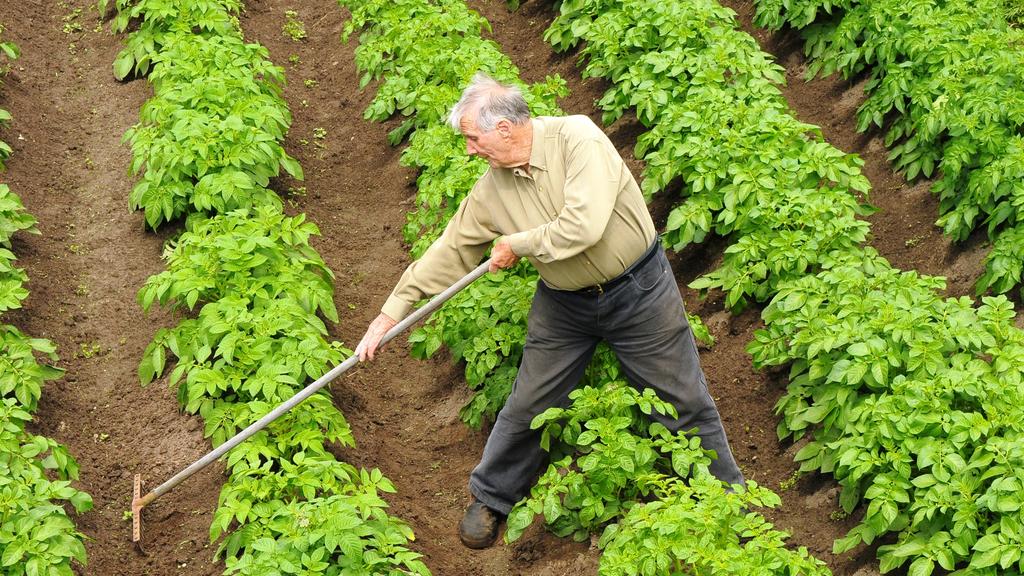
I’m a great believer in “mounding”, which is dragging up the soil around the growing tops to almost bury them with a heavy broad-hoe or a strong rake. I do this about three times as the plants grow; the aim being to increase yields and frustrate potato moths while preventing any potatoes from becoming exposed to light.
Even low light causes tubers to turn green and too poisonous to eat.
The soil must be continually kept moist but never saturated during growth.
When the first flowers appear, it’s a signal that we can burrow down to bandicoot some of the larger, extra-tasty tubers for an early feed or two.
Once potato tops start to lose vigour, all watering must cease because the crop is approaching full maturity.
It’s best to wait until the stems completely flop down and leaves turn yellowish before using a fork to lift the fat clumps of spuds.
I chuck them in a large milk crate, then blast off all soil with a hose jet before leaving them lying in the sun for a couple of hours to dry off.
Pack them into cardboard boxes or hessian bags (avoid plastic) before storing them under cover and with extra material thrown over to keep out all light.
Most keep in excellent condition for months, well into winter.
My favourites include Dutch Cream (cream-coloured, waxy flesh) or the smaller but almost identical Nicola. The heavy-cropping King Edward is by far the best and tastiest of all floury potatoes.
Kennebec is an extra-large, floury spud, particularly ideal for oven
baking.